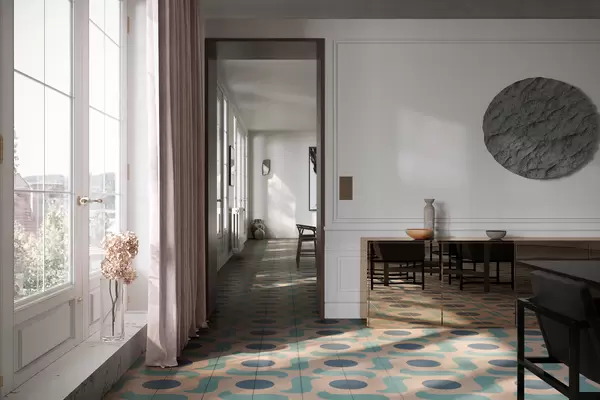
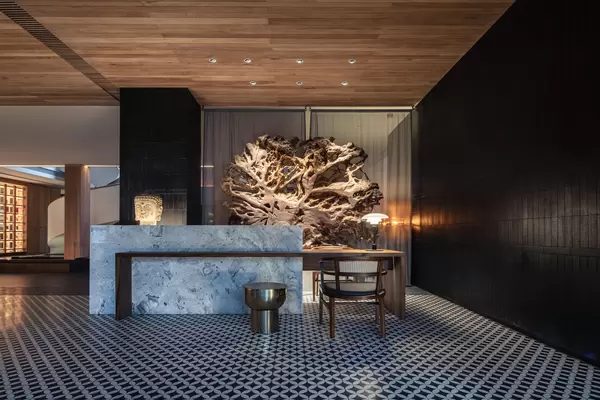
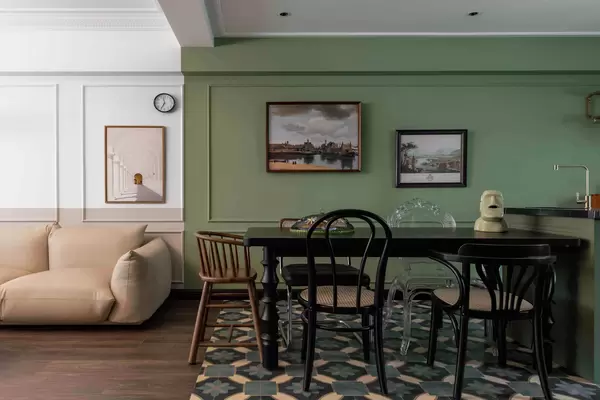
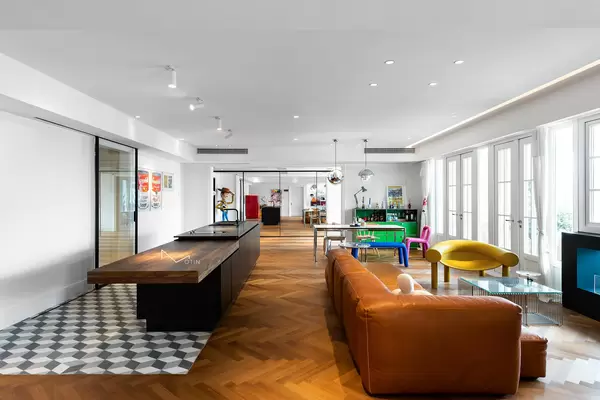
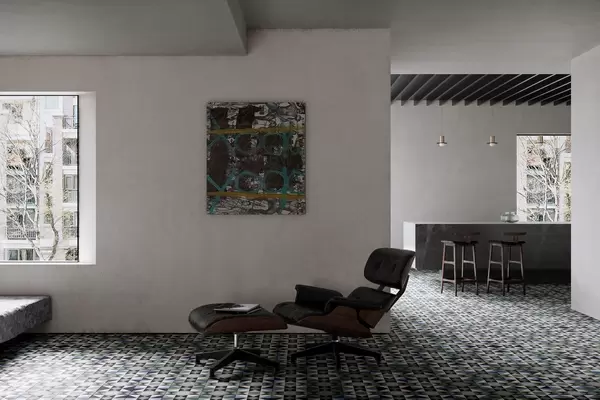
Nanchow has been dedicated to producing cement tiles for over 9 years using this unique material. By incorporating modern technology, design, and aesthetics, we aim to make cement tiles a timeless addition to any space.
We carefully craft each tile through pattern design, mould production, and tile grouting, with every step bringing us closer to our goal. After years of experimentation, Nanchow has established a working model and standard for producing these beautiful tiles.
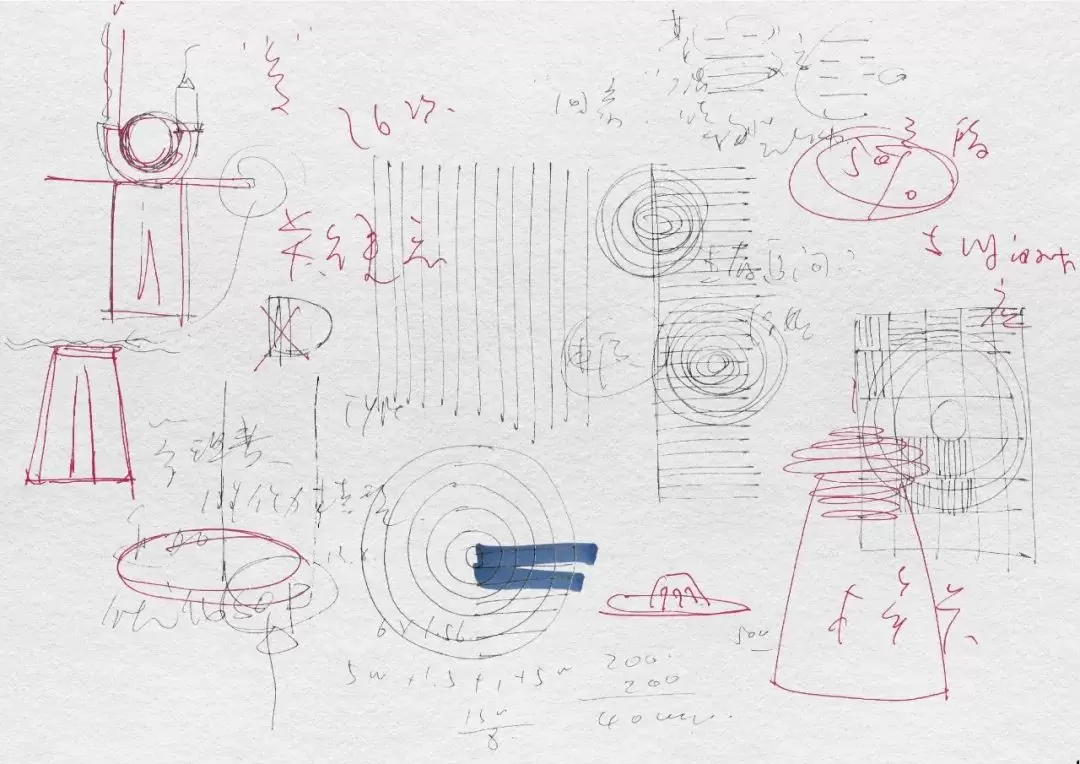
STEP 1 / Design
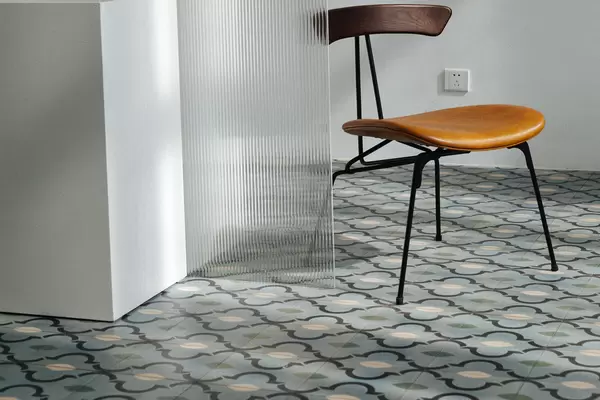
When designing tiles, we aim to create a visual representation of our understanding of space and material. Our collection of patterns is extensive, and we also develop and design new ones that suit modern living spaces.
We believe that the beauty of the pattern and the message it conveys should endure the test of time, and we carefully consider each cement tile's placement and pattern to ensure that it remains meaningful. We must also consider the practical aspects, such as joints and splicing, to ensure that the final product is both aesthetically pleasing and functional.
STEP 2 / Mould Design
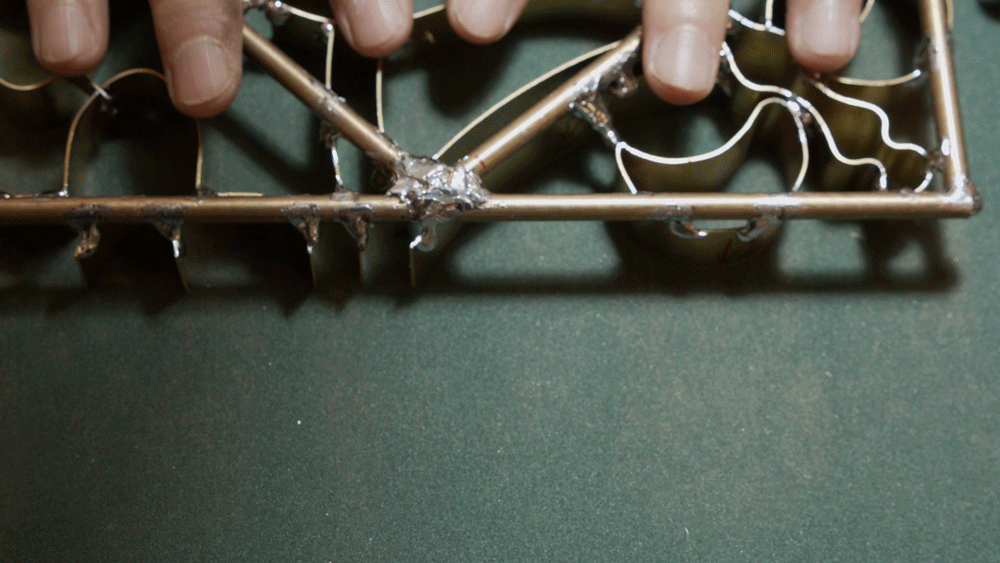
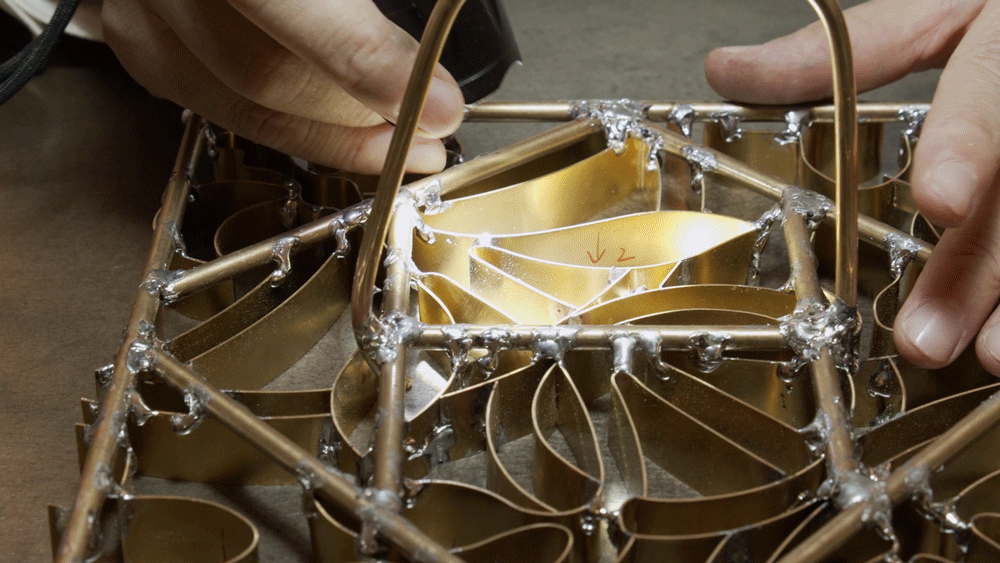
Creating a pattern mould for cement tiles using copper sheets. The mould is handmade and takes 3-6 days to make each. To create high-quality cement tiles with a beautiful and consistent design, it's important to have a precise and well-crafted mould that can accurately replicate the desired drawing style while maintaining a smooth, flat surface.
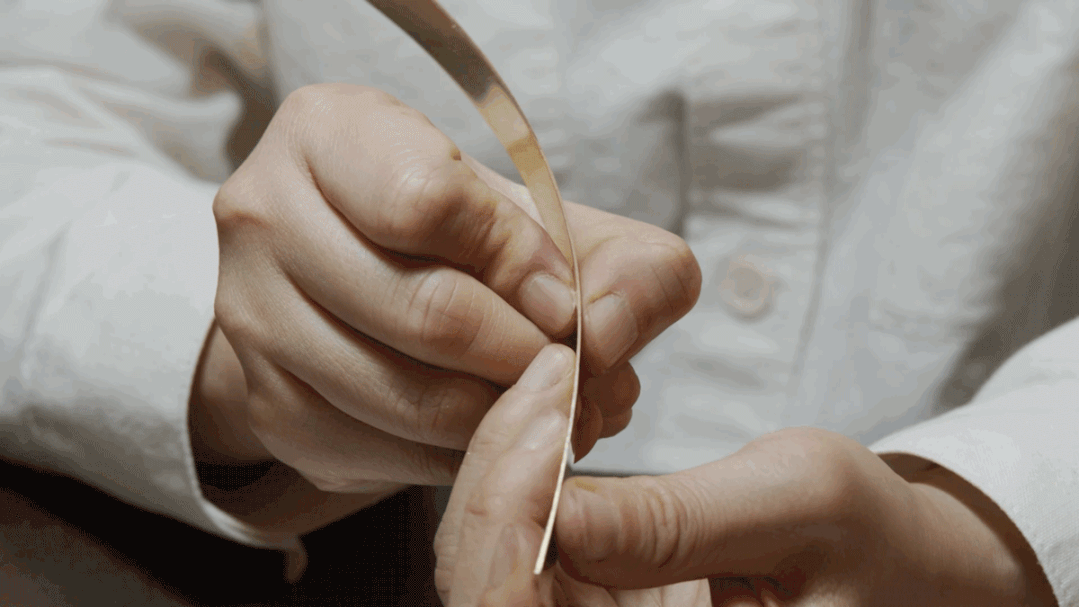
The copper texture is softer and has better plasticity than iron, making it easier to create crisp patterns on the tiles.
Bending copper requires a great deal of care and patience, especially for complex patterns that contain many small bends that cannot be achieved with tools alone. The patternmaker must use their hands to smooth out these bends gradually. Any mistake during the process could damage the pattern and require rework.
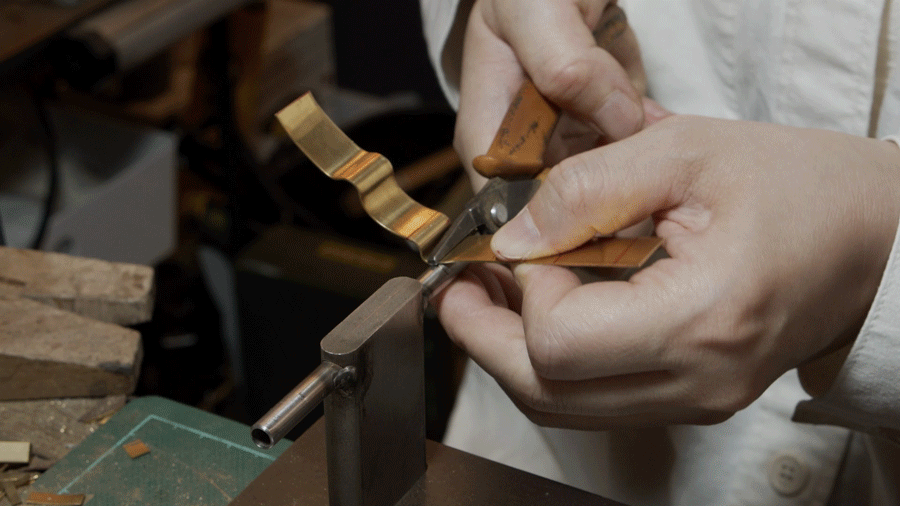
Welding
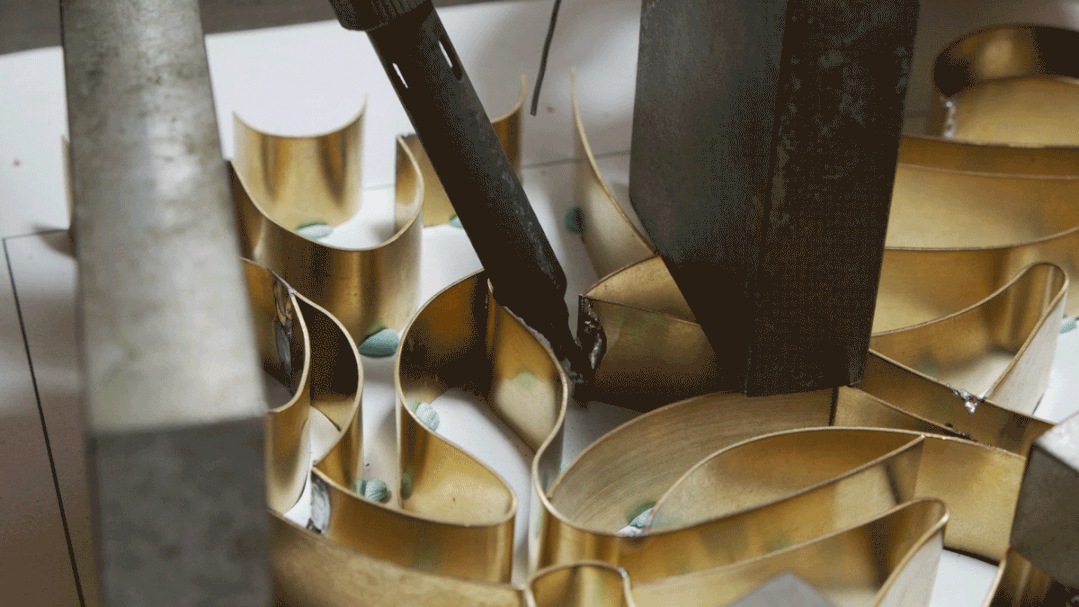
Polishing
Polishing
Inspection
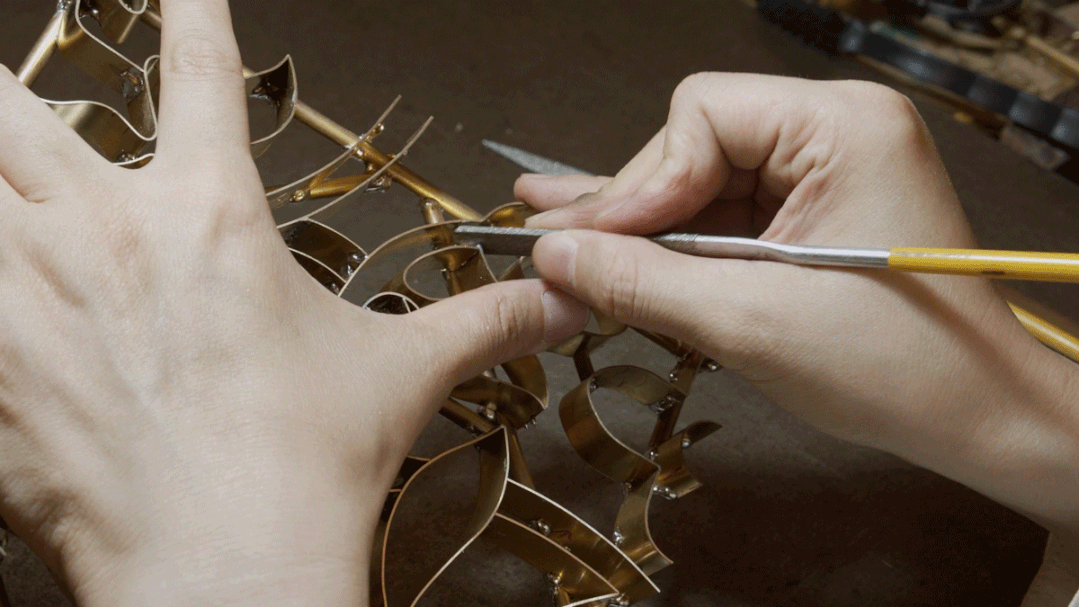
When a designer provides their drawings, the first task for patternmaker is to carefully review the size and accuracy of the artwork, and then use that information to construct a mould that can perfectly capture every detail of the pattern.
Based on the splitting results, the copper pieces are bent by the patternmaker manually, section by section. The scattered pieces are then fixed and assembled using clay, and finally welded together with soldering tin to create the frame. This process results in the formation of a pattern.
Once the mould is complete, the artist polishes the welded interface and sands the mould to ensure that the slurry does not overflow when poured in. Overall, the use of a pattern mould ensures that the cement tiles have complete and crisp patterns with smooth lines and clear colours.
STEP 3 / Proportion Calculation
Mix and stir cement and different types of sands in the best ratio obtained from the Nanchow experiment to prepare the base material for making cement tiles.
The key to creating a successful mixture is the formula. It took over four years to adjust the formula in the beginning, and we continued to experiment and update it every year thereafter. The optimized formula improves the strength, wear resistance, and other properties of cement tiles while reducing their thickness and weight. The thickness of the individual Nanchow tile is 16 mm including 3-5mm color layer, and it has a weight of 1.4 kg.
This makes the tiles more durable and also reduces production energy consumption and makes transportation more convenient.

For each experiment, Nanchow documents the recipes used in the process. Over time, several experimental manuals have been accumulated in Nanchow's studio.
The experimental formula can be tedious and lengthy, requiring the mixing craftsman to try different ratios, observe the sample, test its performance, and record the results according to various variables.
Now, with the latest recipe standards, cement and various types of sand are proportioned and poured into the mixer, creating a cement based material that can be used directly in tile production.
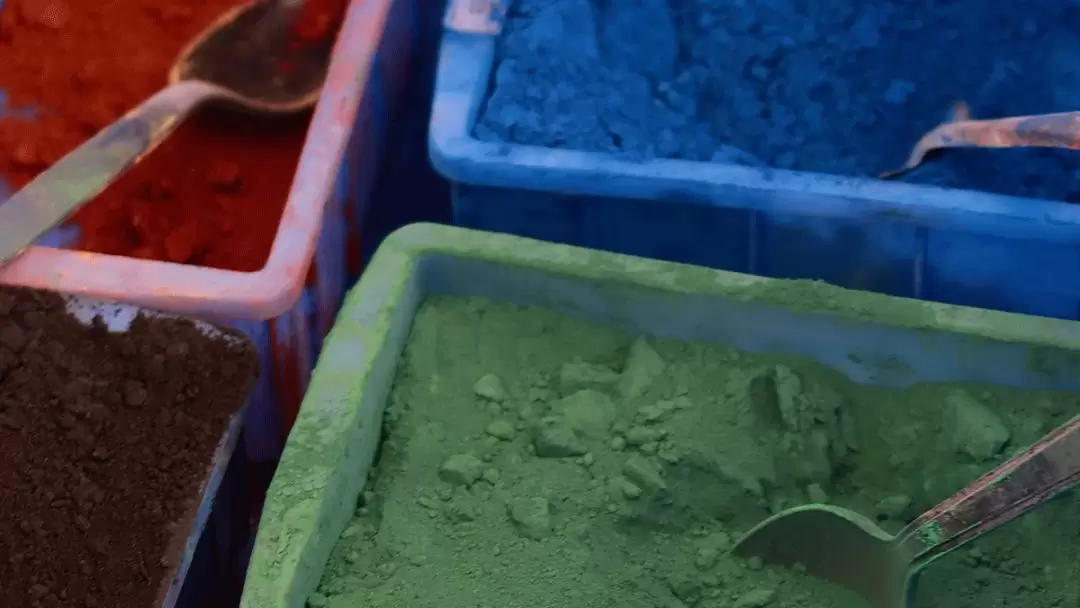
STEP 4 / Colour Mixing
The vibrant hues of cement tiles are achieved through the use of various colour pastes. As a result, the colorist must carefully select and blend the appropriate pigments in order to meet the specific design specifications.
In order to produce cement tiles that have a consistent and bright color, the quality of the white cement used is extremely important. The whiteness and consistency of the cement is crucial in reducing any color variations between different batches of tiles.
The use of cement tiles with rich colour expression can bring a lot of possibilities to a space. The designers at Nanchow are highly attuned to colour and are dedicated to achieving the highest level of colour performance.
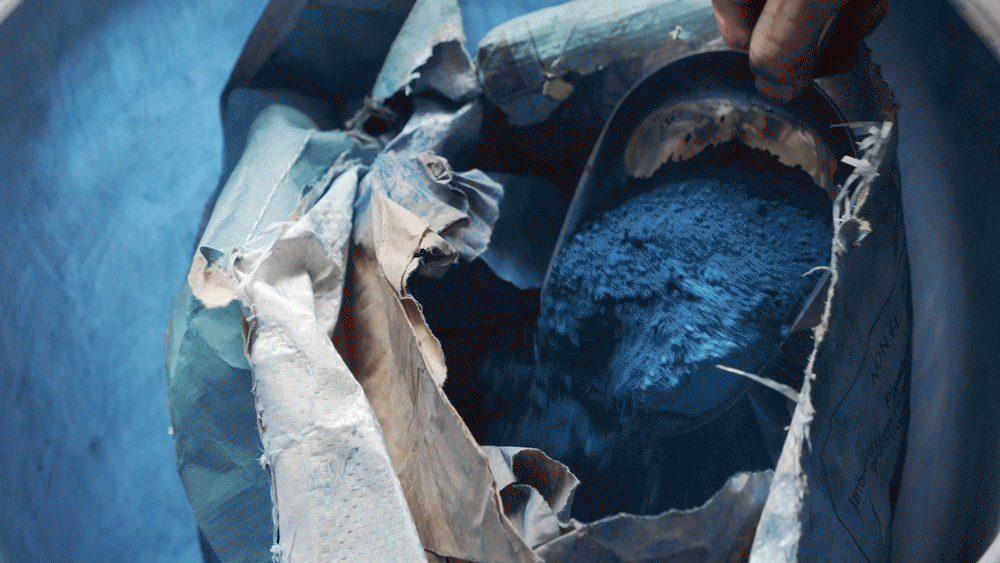
Consequently, every time they need to create a new colour scheme, it involves a complex blending process. The colourist begins by analysing the drawing and using their experience to determine the rough composition of the colours.
Then, they mix the corresponding pigments and cement in the right proportions, trying different variables and recording the type of pigment, the weight in grams, and the proportion used each time. Even with their experience, the colourist still needs to try at least 4 or 5 times before getting the ideal colour scheme.
Once they achieve the perfect colour, they make sample tiles for confirmation and then strictly follow the colour-matching standard during production to ensure colour consistency and reduce the occurrence of colour differences.
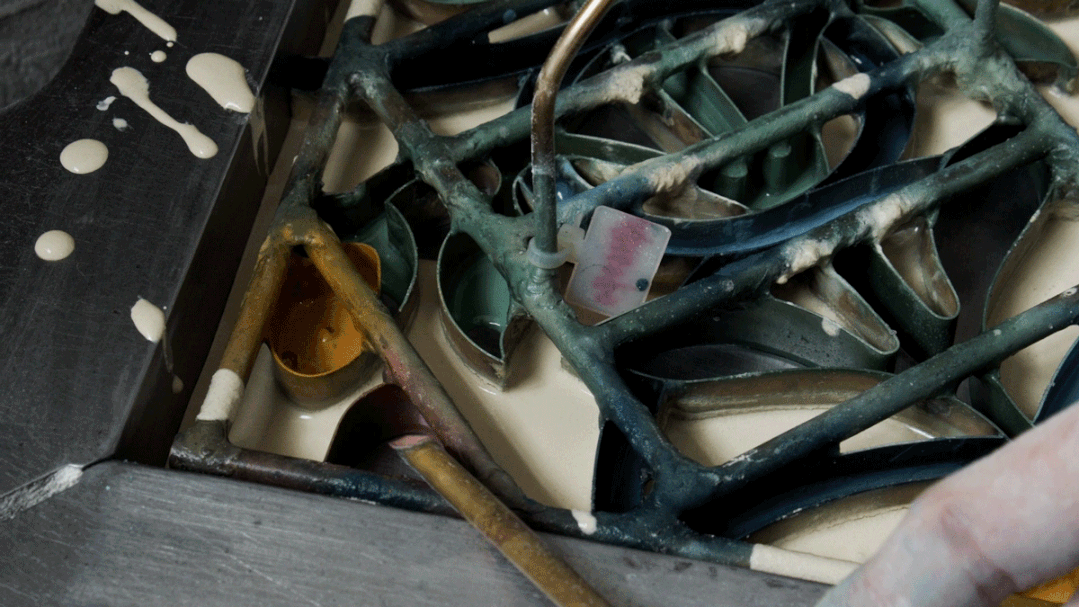
STEP 5 / Slip Casting
When cement paste is poured into the mould, it will create a thin layer of slurry, about 3-5mm thick, on the surface of the cement tile. This layer will reveal the unique pattern of the tile.
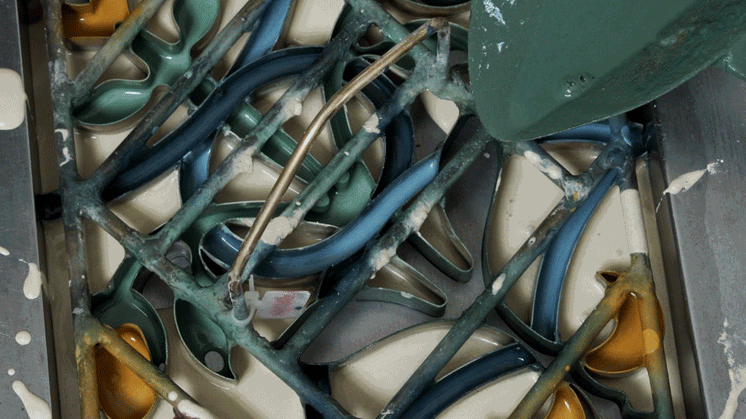
Grouting plays a crucial role in achieving the desired pattern effect of cement tiles, particularly in the case of Nanchow cement tiles that require crisp outlines and accurate colour.
Some tiles have a variety of colours and complex patterns that result in narrow mould gaps, and if the grouting process is not handled with care, mistakes can occur.
Therefore, it is important for tile makers to maintain a steady hand and avoid distractions while carefully following the drawing to apply the colour paste step by step.
Nanchow offers a range of grouting tools in different sizes, allowing tile makers to choose the appropriate tool for the size of the mould gap that needs grouting.
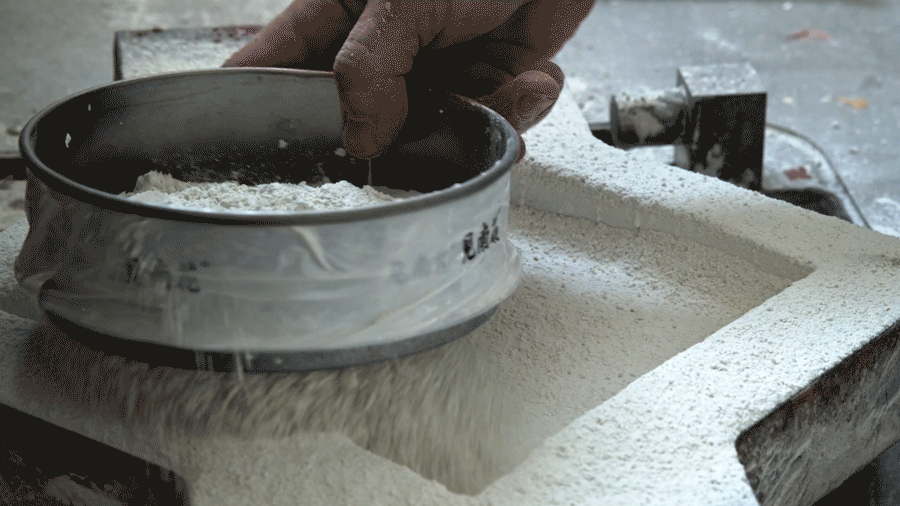
STEP 6 / Powdering
Once you've finished grouting, remove the mould and sprinkle the cement base material onto the surface of colour layer to add strength of the cement tile.
To improve the strength of the cement tile, it is recommended to sprinkle the prepared cement base material on surface of the grouting layer as it helps to absorb moisture in the cement paste.
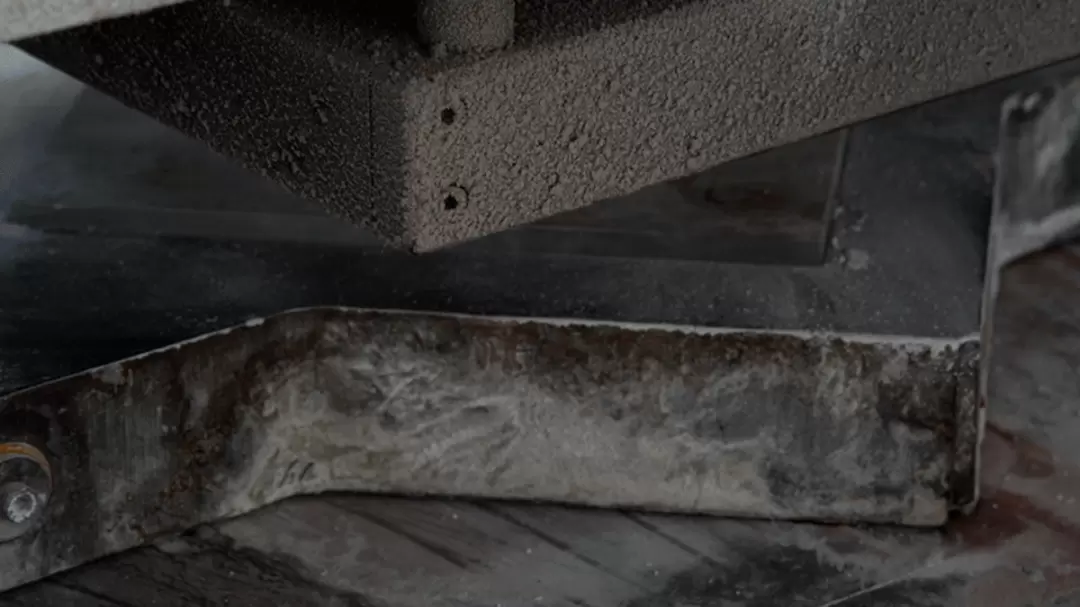
STEP 7 / Hydraulic Mould Pressing
Cement tiles are produced through hydraulic machinery, as opposed to ceramics. To keep up with the current market demand, Nanchow has designed their own tile machine.
Cement tiles are created using a hydraulic cement tile machine. Having a good cement hydraulic tile machine can save time and labor, while also improving tile efficiency and yield. Nanchow has used three different tile-pressing devices since its inception, but the old equipment is no longer able to meet modern demands.
Therefore, a new Nanchow cement tile machine has been redesigned and developed. Compared to previous equipment, the Nanchow cement hydraulic tile machine that applies 25 Mpa of pressure has a higher degree of automation and is more convenient to operate. This reduces the difficulty of tile making and frees up some of the production energy of tile makers.
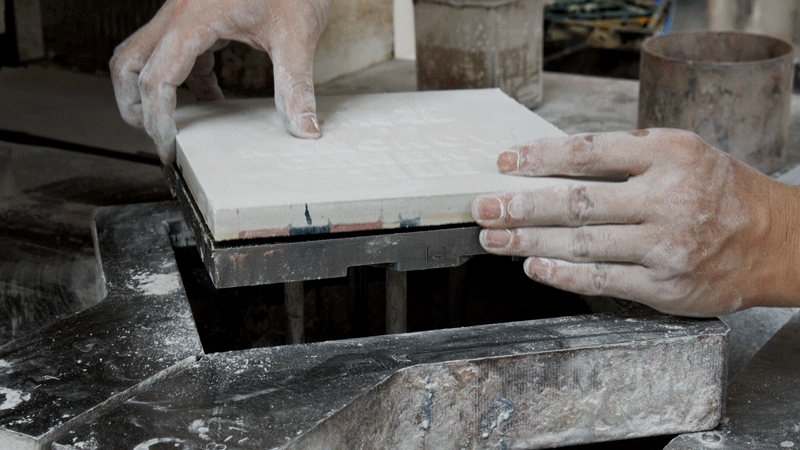
STEP 8 / Demoulding
Removing the cement tile intact from the machine before it has fully hardened, also known as demoulding, is considered the most challenging step for novice tile makers.
This task requires the tile maker to carefully and diagonally remove the tile from the machine. However, this method is not always successful and may require years of experience to develop the necessary feel and grasp strength.
STEP 9 / Curing
When tiles are formed using hydraulic pressure, they aren't completely hardened yet.
To gain strength, they need to be treated through a process called "nature curing" and "water curing".
First, the newly formed tiles are moved to a curing room with a constant temperature and humidity for 24 hours. Then, they are soaked in clean water.
If the temperature in the curing room is too high or the humidity is too low, the reaction between water and cement will happen too quickly, leading to insufficient strength and other issues.
After water curing, the surface of the tiles needs to be cleaned.
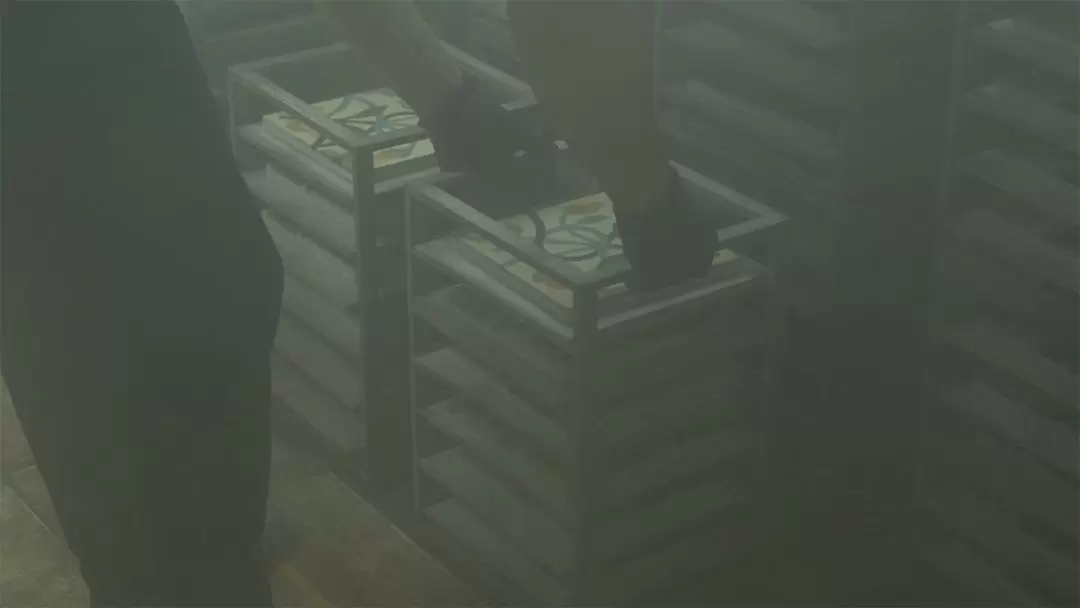
STEP 10 / Drying
After the tiles have been cleaned, they are taken to the drying area and left there for approximately 7 days until they are completely dry. During this time, the tile-making expert will also examine the tiles to identify and address any issues that may arise.
After 28 days from start of manufacturing, the cement tile color layer will gain enough strength and is ready for installation.
STEP 11 / Surface protection
Apply a surface coat treatment to the cement tile.
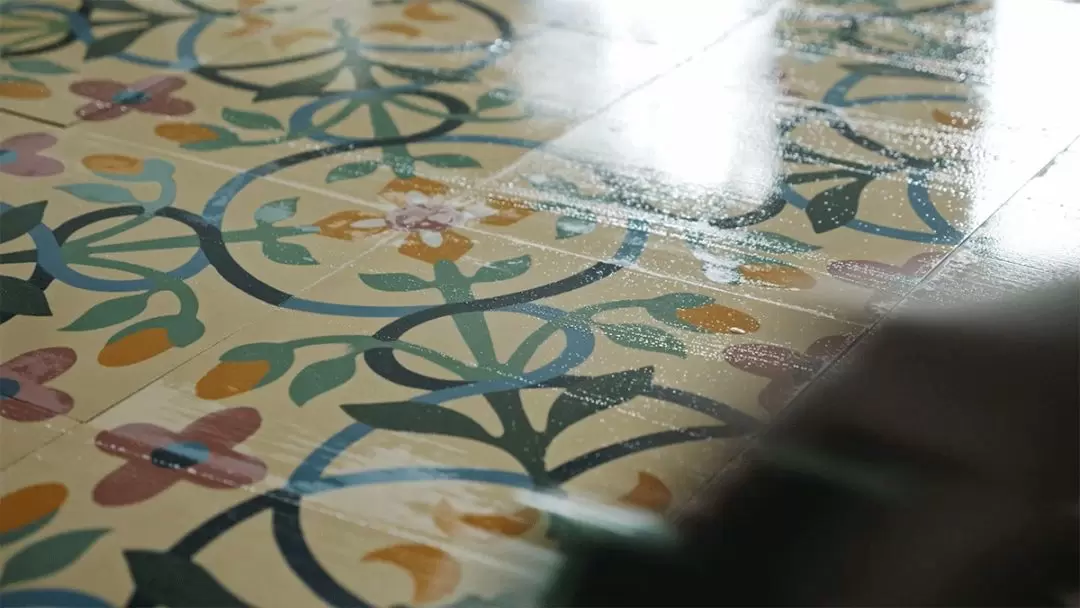
Pressed cement tiles differ from ceramic tiles in that their surface does not have a glazed, closed-pore finish, but rather is full of fine pores. As a result, it is crucial to properly treat the surface of cement tiles in order to enhance their resistance to stains and dirt.
STEP 12 / Quality Control
Every individual cement tile will be placed horizontally and thoroughly examined by a specialist inspector.
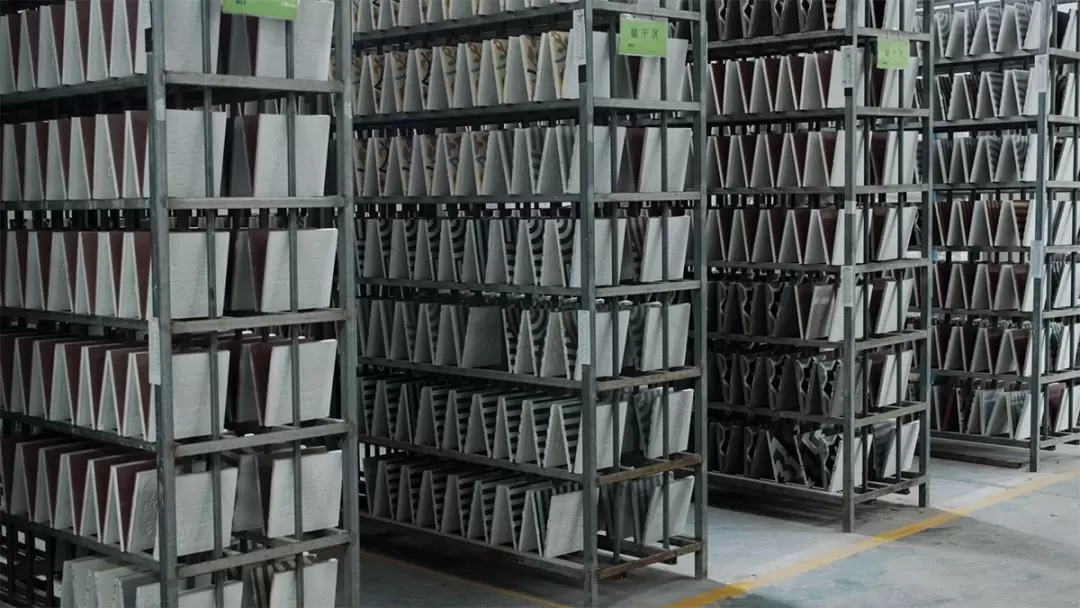
Once the quality inspection is complete, we carefully pack the tiles in boxes designed to reduce movement and prevent damage during transportation. The unique hand-made texture of cement tiles is what makes them so appealing to many people. To preserve this characteristic, Nanchow has spent years researching and experimenting with different methods, both old and new. We have developed 13 processes to achieve this texture and continue to focus on improving their technology to better showcase the unique texture of their cement tiles.

STEP 13 / Packing
After quality inspection, the packing should be careful. Nanchow's packing boxes are designed according to the size of the cement tile, so as to reduce the movement and damage caused by excessive internal space during transportation.


The unique hand-made texture of cement tile is the reason why many people are fascinated by it. In order to restore this characteristic, Nanchow after several years of investigation, research, experiments, looking for old methods, but also add new technology, finally evolved into these 13 processes.
In the future, our attention will remain on enhancing the technology behind cement tiles, resulting in a more refined display of their distinct texture.
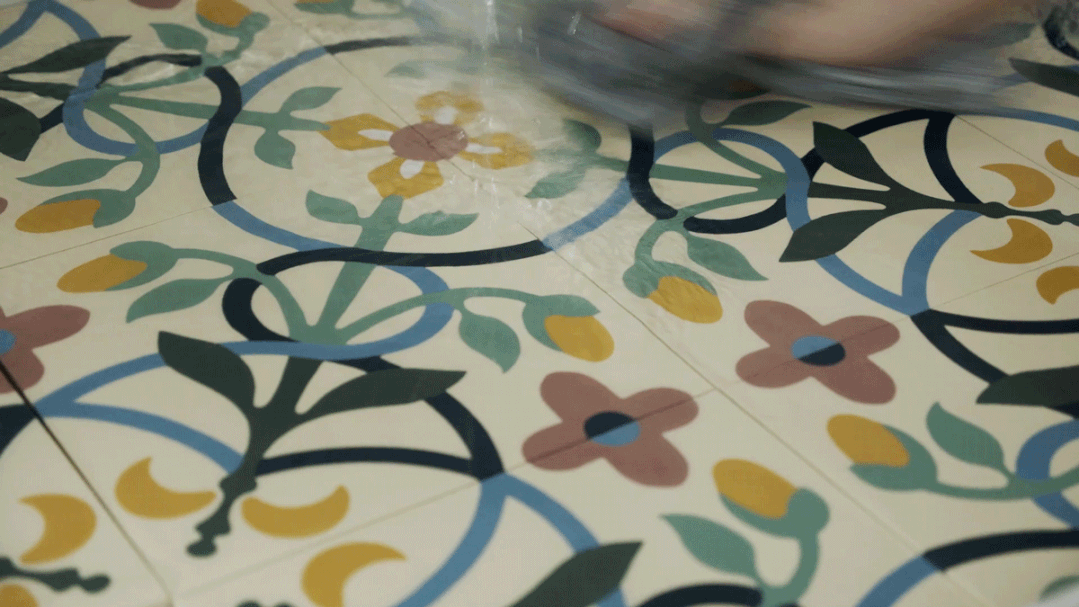
Watch the video to learn about the hand-made cement tile production process
Authors

Lin Yuming
He has been engaged in design since 1999 and founded the brand Nanchow in Xiamen, China in 2012. In the same year, he started researching the production process of traditional cement tiles from scratch, and after 4 years of continuous research and development, he regained the complete production process of traditional cement tiles. He hopes that Nanchow can take a step forward on the basis of traditional craftsmanship, reinterpret cement tiles with new era concepts and aesthetics, and strive to continuously improve the quality of cement tiles and endow them with new aesthetic value. His work "ZENEN" won the "EDIDA2021 Global Best Floor Decoration Design Award".
Recommended Posts
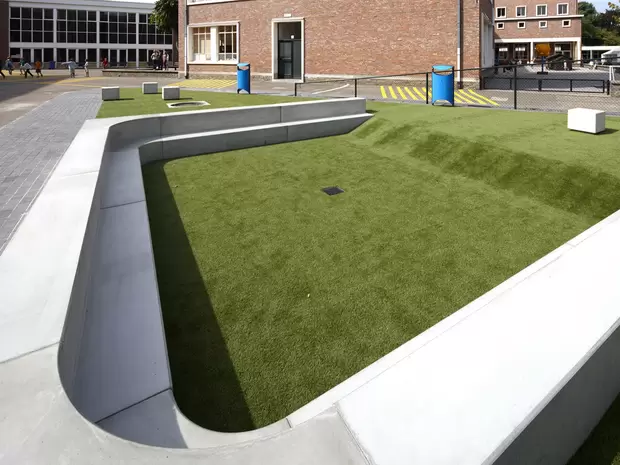
Creative White Concrete City Furniture

Aesthetic Durability of Concrete Structures

Share on